
I feel a bit silly admitting this, but I've been working on this blog post for years. Yup years!
Sixteen years ago, when my oldest son was two, I bought a cheap white coach from Ikea. It is still white and has never seen the light of day because I made a slip cover for it as soon as it came in the door.
I made a blue and white striped linen cover for it.
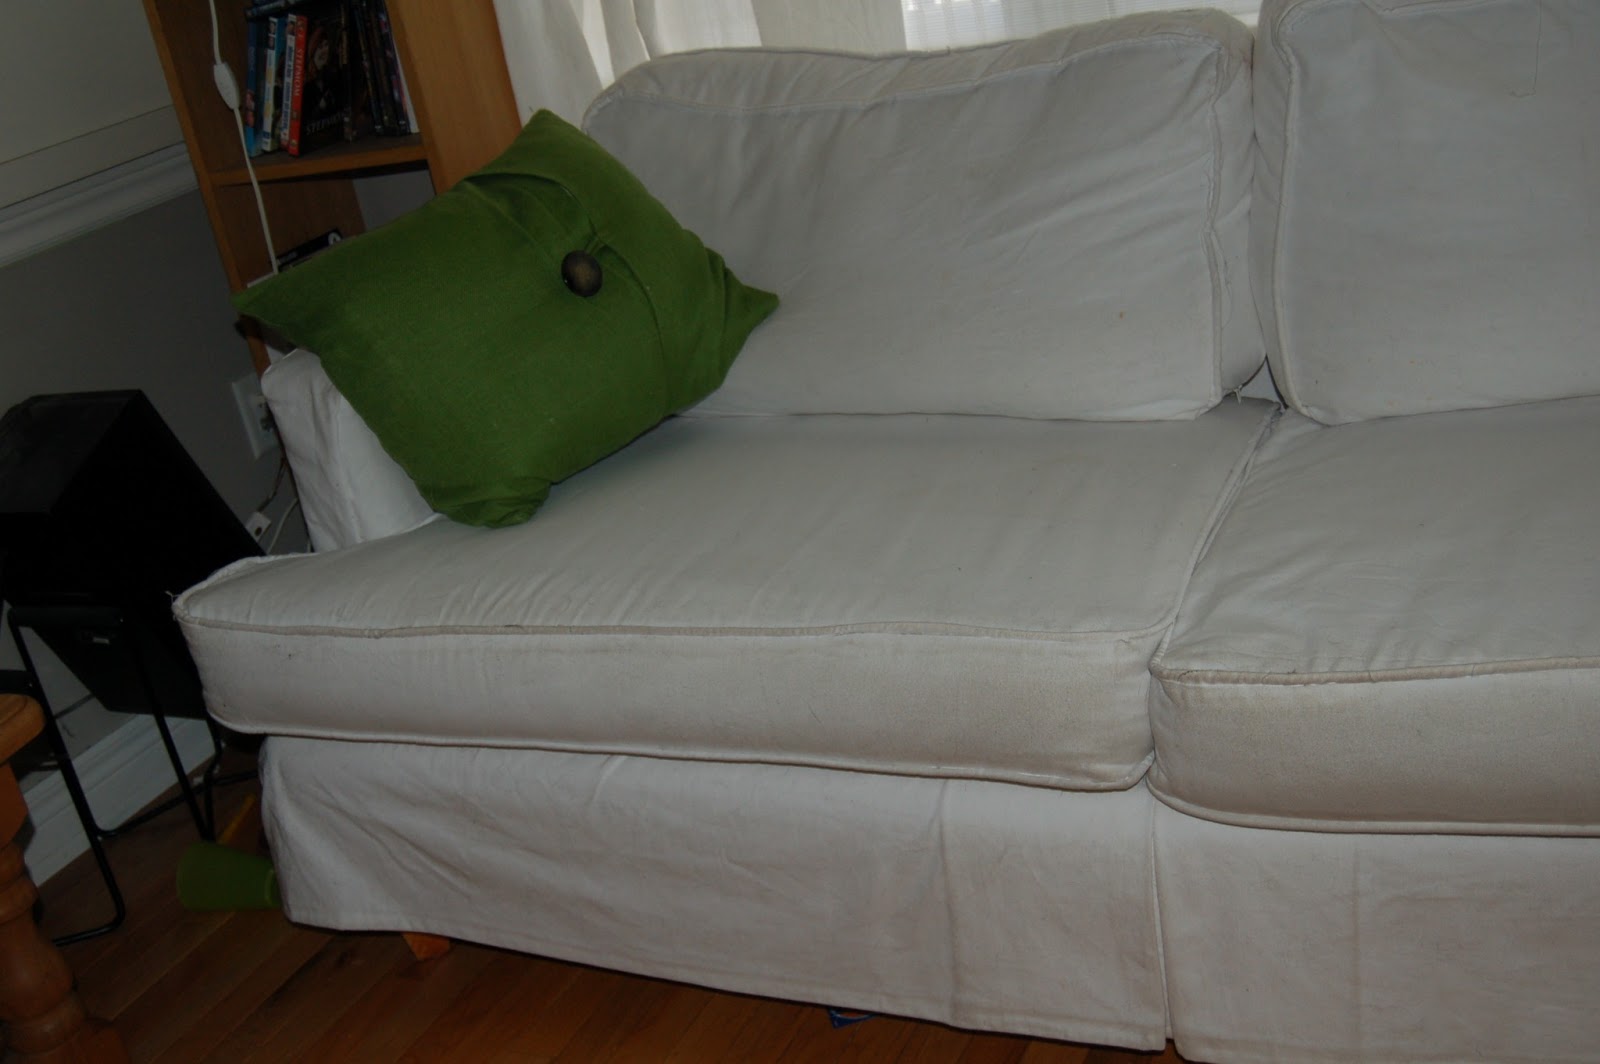
And then a yellowish cover. I started thinking about writing up detailed instructions when I started making the yellow cover. I took some pictures and then was sidetracked by life. This is the final look.

Making a slipcover is far easier than it looks. Its a big project but its not a hard project if you chunk it down.
A sewing machine is a given for a project like this but you don't need anything fancy. All you need is a regular sewing foot, a zipper foot (like this) and a LOT of patience.

The first thing I do when making a slipcover is to wash and preshrink the fabric. I have a front load washer that will wash at 95C which is just below boiling. Washing your fabric is really hot water ensures your cover won't shrink after your done. All told a slip cover takes me around 10-15 hours to make.
What to Buy for a Sofa Slip Cover
Fabric min 10 yards
cording min 20 yards
zippers
thread
denim needle for your sewing machine
craft paper for pattern - postal wrapping paper works perfectly
My sofa has four cushions; two back and two seat. Its approx 78" long. I purchase 10-12 yards of fabric and will buy a bit more than I think I need so I have enough left after shrinkage. The yellow fabric in the photo above shrunk a good 2 yards when I washed it. So don't say I didn't warn you.
You need to use the right type of fabric for a slipcover. Upholstery weight cotton is my personal favorite. Its washable and wears really well. Don't think you can make a nice looking slipcover out of a bedsheets. Its too think and will not wear well. You can, however, make a pretty good looking slipcover out of a paint drop cloth. Just make sure you inspect a drop cloth before washing because they are often made of lots of small pieces of fabric sewn together. You don't want any odd seams in your finished work.
You will need a LONG zipper for each cushion. The ones I buy are duvet zippers and they are 60" long. The longer your zipper the easier it is to get your finished cover on your cushions.
Step 1 - Wash your Fabric
The first thing I do when making a slipcover is to wash and preshrink the fabric. I have a front load washer that will wash at 95C which is just below boiling. Washing your fabric is really hot water ensures your cover won't shrink after your done. After you have washed and dried your fabric, you will need to iron it. Fun wow - NOT! It is a very necessary step in making a good looking final product.
Making the Welting
Welting around cushions not only looks nice, but it adds to the strength of the seam.
The next step in the process is to make welting. You buy the inner cord thing at the fabric store and it comes in various thicknesses. I think I usually buy in the of 25 yards which seems like a huge amount.
Next cut enough 3" strips of fabric to cover over the length of your cord.
Use your zipper foot to sew close to the cord like this

You should end up with something that looks like this.

And ultimately you want to have several yards like this.

Because this is such a long process, this is the end of part one. Stay tuned ....
No comments:
Post a Comment