Monday, October 7, 2013

Vulture Droid Micro Build

Another micro build.  Star Wars vulture doid.

Lego Chistmas Stocking

Lego micro build. Christnas stocking.

Wednesday, October 2, 2013

October Rose

Well, its that time of year again when I start to question myself.  Clearly I am not the only one.  


The days get shorter and it starts to get darker earlier and earlier.

The garden starts to look a little worse for wear.


Then one day you wake up and find this staring back at you.  Roses in October in Canada are a RARE treat!


Is that not the very definition of yellow October rose perfection!  I planted it this spring and its bloomed pretty much continually since I planted it.  I hope it makes it through the winter.  Its SO pretty and cheery!  I have been scared of planting roses because I am intimidated by them, thinking they need the care of someone with a green thumb.  Shhh don't tell my pretty rose!


Monday, September 16, 2013

Little Boys Rooms and Big Boys off to College

There is over 8 years age difference between my boys.  My oldest son we off to college this fall.  My daughter campaigned to keep his room as a shrine but I had told him this past summer that he was being evicted and moved to the basement.  I really wanted my little son to have a room of his own because he has been living in make shift  accommodations  pretty much since he was born.

We painted the room in a Ralph Lauren colour (Joshua Tree) when we moved into this house 12 years ago.  It was older son's pick.


A lot of people are scared of painting bright or dark colours  because  they worry they are hard to get rid of later on.  The trick is to get some primer and go around the edges of your base board and ceiling so the first colour doesn't show through.


I have posted here how much I love Farrow and Ball paint.  I gave little son the colour card and he chose "Chinese Blue".  I had it colour matched mainly because F & B and discontinued this colour and I would have had to order it in which takes time.  I was looking for fast.   I think he chose it for the name. To be  perfectly  honest, I was a bit skeptical.  I thought it would be really dark.


We tested it on the colour card and its an almost perfect match.


Blue is his fav colour!


He is a HUGE Scoobydoo fan.  We looked high nd low for Scoobydoo  jammies after he wore holes in his last pair.  After looking high and low, we found these at Kohl's in Taylor Michigan!


The doors and trim in this room had never been painted.  You can see the difference in colour between the two in these pics.  I painted them after I took these pics.


This ceiling had stucco on it which I scrapped off and made smooth.  Its a BIG job but SO worth the effort.


You can see the nice smooth ceiling in this shot!  The room originally had stucco on the ceiling and no crown molding.


Cutting in around edges with a colour is an art form.  I use a smallish brush and a wee bit of paint.  Like this...


Hold the brush flat against the wall with the bit of paint against the wall and pull across.


I find I get a way straighter line if I eyeball it than I do if I tape it off.  Notice, no green show through because we primed the edges first!


All moved in!  I made him the quilt a couple of years ago.  The painting over the bed is also one of my originals. I also made the cute little night table because I wanted something that would fit perfectly in that itty bitty little space.


The night table is just primed at this point.  We are in negotiations over what colour it will be.


His stuffed pug Wilbur.


Mr Fluffy and Lizzy the Sea Otter.


PS...if anyone is  interested in purchasing an original print of the art over the bed, please message me.  

Friday, September 6, 2013

The Never Ending Kitchen Project

I am kind of scared to admit this but my kitchen project has essentially sat here semi-finished since the counters went in.  I quite simply ran out of steam. I only have a few small-ish things left to do so it was easy to just live with it ...until this week!

I jumped back on the kitchen horse!  I want her DONE!

Please cheer me on here guys because I can really use some encouragement!

I got the primer out and primed the bulkhead prepping it for trimming out.


The current plan is to tile this space with the white subway tiles and put the shelves that were there back up.


Oh yeah!  Fresh white microwave shelf!  This baby was ugly fake oak.

My kitchen smells of Farrow and Ball paint.  Yummy.  I love the smell of it because it smells like clay class!  Its such a nice smell compared to most paint that is made with  synthetic  pigments.


Tuesday, August 13, 2013

DIY Garage Door Roller Repair

Wouldn't you just know it. I did my nails last night! I don't usually do my fingers but its a sure fire jinx.


My garage door sounded like it was going to derail this morning. Upon closer inspection, I realized that two of the rollers were REALLY broken. I touched one of the rollers and it FELL on me.


This little roller gizmo is suppose to be ONE piece.  


You can see just how worn this was.  


Really bad.

I had to run out and buy some new rollers.  This is what they are suppose to look like.  They are suppose to not be bent or loose. I opted to buy new nylon rollers over the old steel ones that were on the door.


Goes well with the nice nails don't yah think!


Old, yucky, broken roller.


New roller.


 I must say, I was somewhat intimidated by replacing these.  Turns out, it was easy peasy.  I unbolted the brackets with a ratchet.  

And I popped in the new rollers.  


Ta da!  I ended up replacing four bad rollers.  The door sounds SO much better now!  


Monday, July 8, 2013

Slipcover Tutorial - How to DIY a Sofa Slipcover - Part One

I feel a bit silly admitting this, but I've been working on this blog post for years.  Yup years!


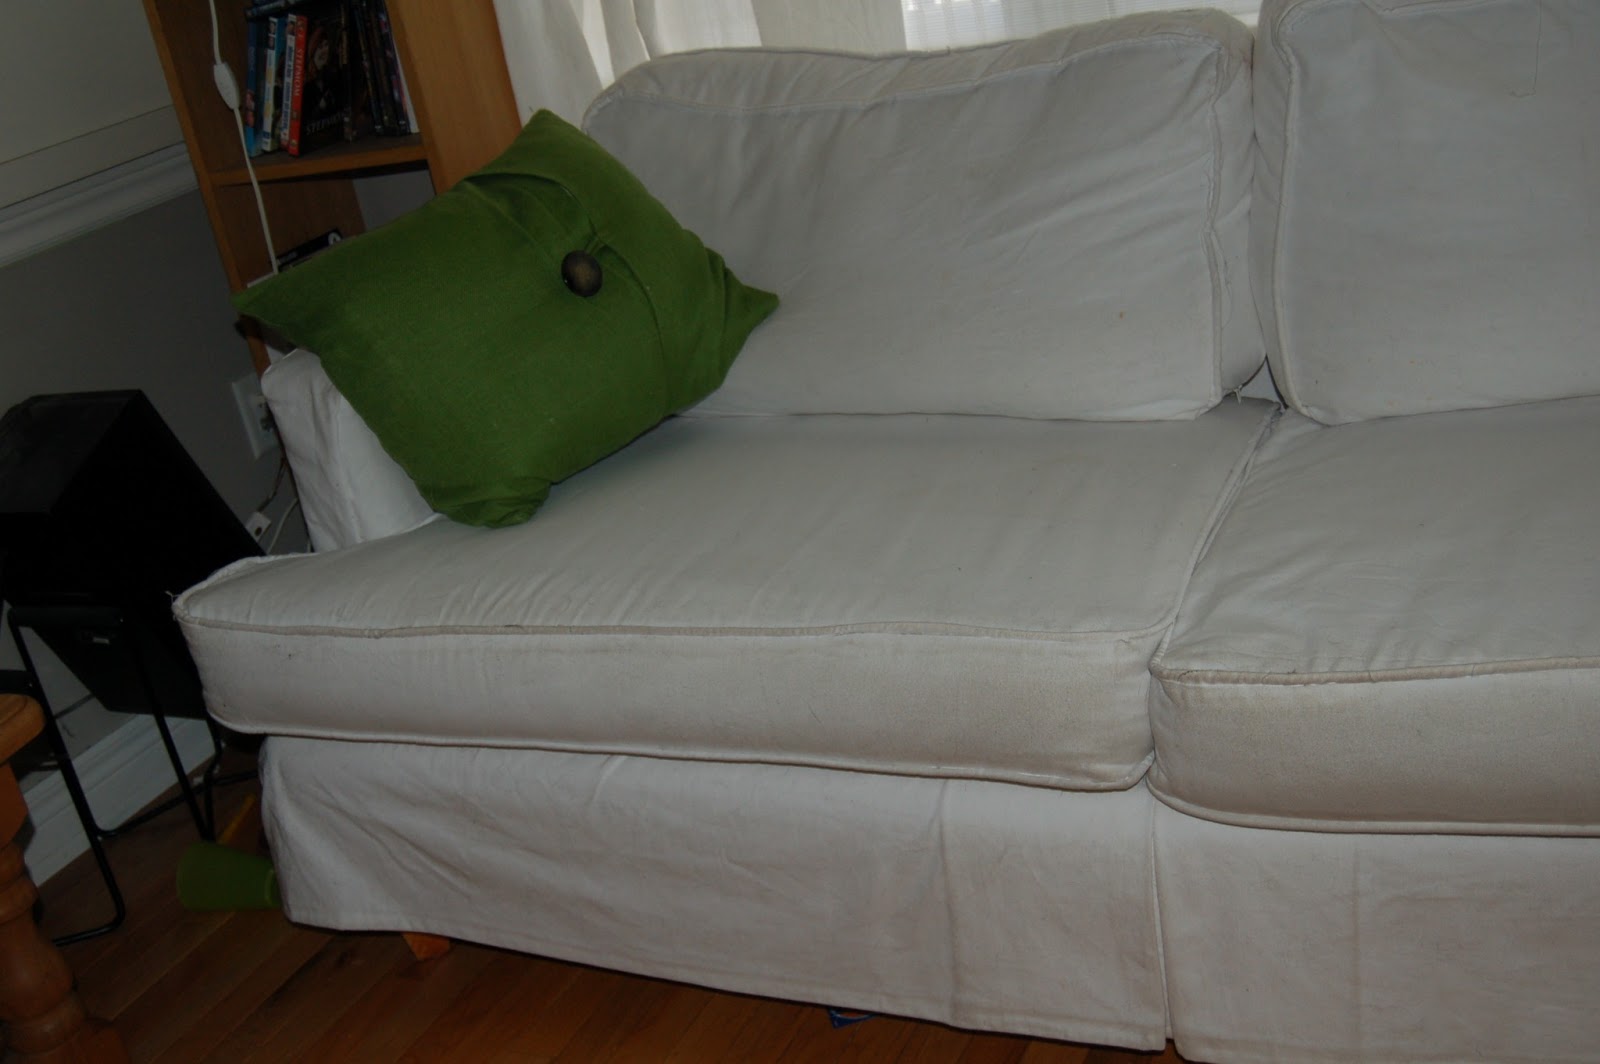
Sixteen years ago, when my oldest son was two, I bought a cheap white coach from Ikea.  It is still white and has never seen the light of day because I made a slip cover for it as soon as it came in the door.  

I made a blue and white striped linen cover for it. 


And then a yellowish cover. I started thinking about writing up detailed instructions when I started making the yellow cover.  I took some pictures and then was sidetracked by life.  This is the final look.  


Making a slipcover is far easier than it looks.  Its a big project but its not a hard project if you chunk it down.  

A sewing machine is a given for a project like this but you don't need anything fancy.  All you need is a regular sewing foot, a zipper foot (like this) and a LOT of patience. 


The first thing I do when making a slipcover is to wash and preshrink the fabric.  I have a front load washer that will wash at 95C which is just below boiling.  Washing your fabric is really hot water ensures your cover won't shrink after your done.  All told a slip cover takes me around 10-15 hours to make.  

What to Buy for a Sofa Slip Cover

Fabric min 10 yards
cording min 20 yards
zippers 
thread
denim needle for your sewing machine
craft paper for pattern - postal wrapping paper works perfectly


My sofa has four cushions; two back and two seat.  Its approx 78" long.  I purchase 10-12 yards of fabric and will buy a bit more than I think I need so I have enough left after shrinkage. The yellow fabric in the photo above shrunk a good 2 yards when I washed it. So don't say I didn't warn you.

You need to use the right type of fabric for a slipcover.   Upholstery  weight cotton is my personal favorite. Its washable and wears really well.  Don't think you can make a nice looking slipcover out of a  bedsheets.  Its too think and will not wear well.  You can, however, make a pretty good looking slipcover out of a paint drop cloth.  Just make sure you inspect a drop cloth before washing because they are often made of lots of small pieces of fabric  sewn  together.  You don't want any odd seams in your finished work.   


You will need a LONG zipper for each cushion.  The ones I buy are duvet zippers and they are 60" long.  The longer your zipper the easier it is to get your finished cover on your cushions.  


Step 1 - Wash your Fabric 

The first thing I do when making a slipcover is to wash and preshrink the fabric.  I have a front load washer that will wash at 95C which is just below boiling.  Washing your fabric is really hot water ensures your cover won't shrink after your done.  After you have washed and dried your fabric, you will need to iron it.  Fun wow - NOT!  It is a very necessary step in making a good looking final product.

Making the Welting

Welting around cushions not only looks nice, but it adds to the strength of the seam.

The next step in the process is to make welting.  You buy the inner cord thing at the fabric store and it comes in various thicknesses.  I think I usually buy in the of 25 yards which seems like a huge amount. 

Next cut enough 3" strips of fabric to cover over the length of your cord.  

Use your zipper foot to sew close to the cord like this


You should end up with something that looks like this.


And ultimately you want to have several yards like this.


Because this is such a long process, this is the end of part one.  Stay tuned ....